Pottery is an amazing way to create something beautiful and practical, but getting started can be intimidating.
Considering all the tools needed, this begs the question:
Is it possible to make pottery at home?
Absolutely!
However, it all depends on what clay and pottery technique you use.
Certain techniques and clays require more equipment which eats up money and space.
But don’t worry, with this simple guide you’ll be making pottery at home in no time!
Whether you want to gain a new hobby or introduce the craft to your family, this article can help you get started.
Choosing a Pottery Technique
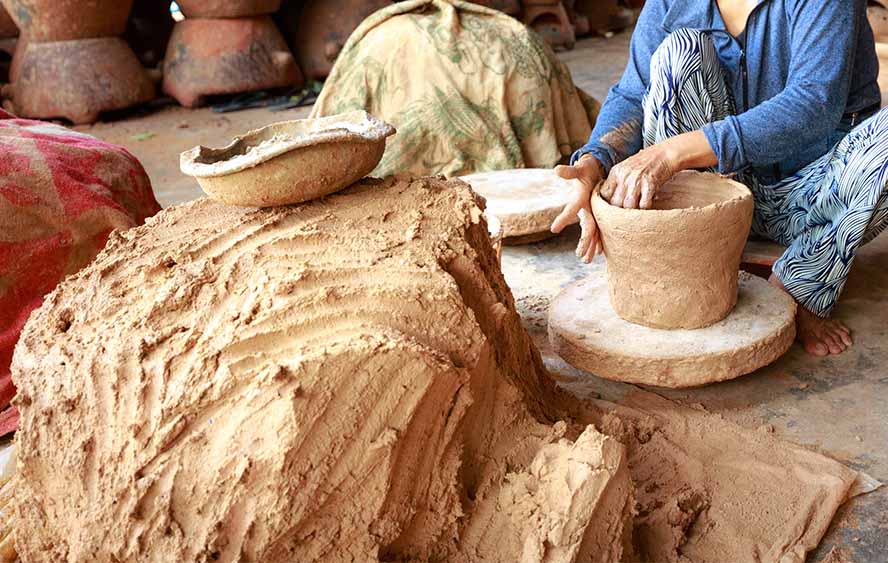
There are three main pottery techniques: hand-building, slip casting, and wheel throwing.
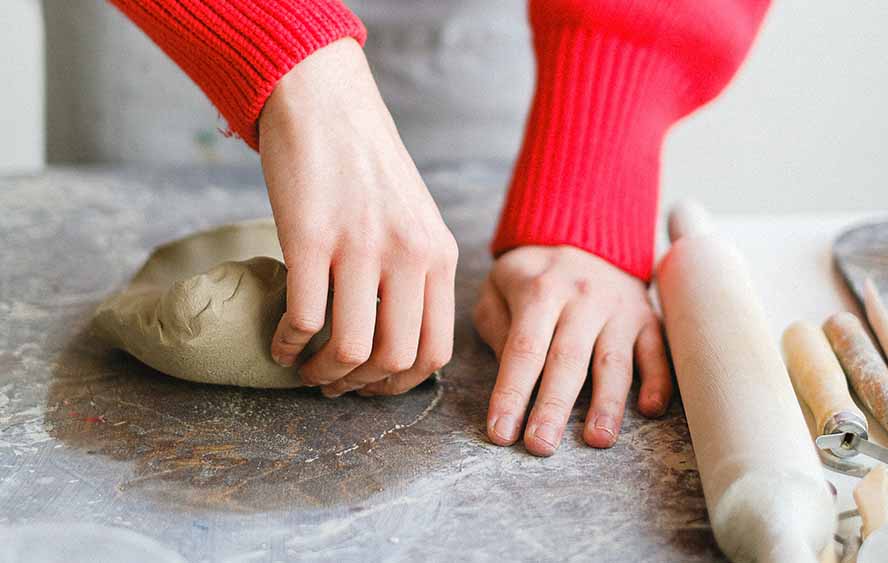
Hand-building only requires your hands.
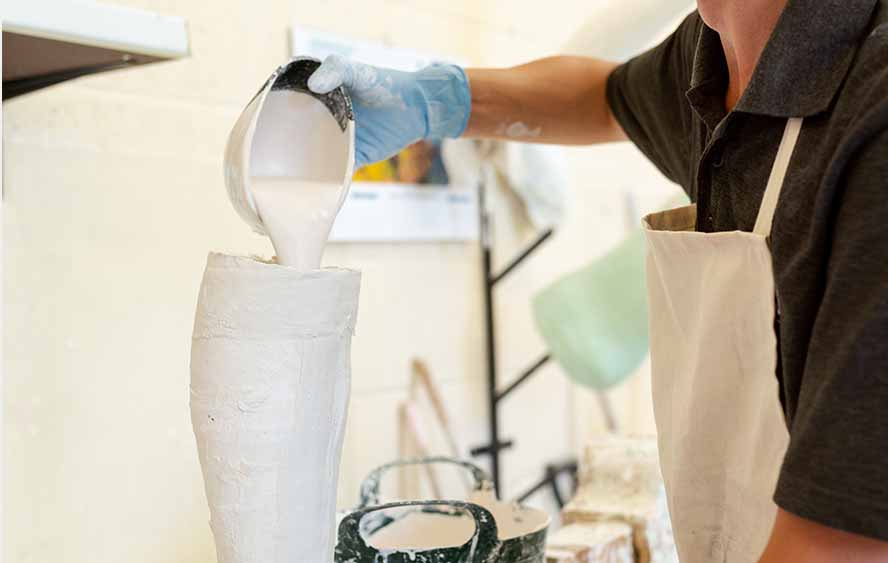
Slip casting requires plaster molds that you pour liquid clay into.
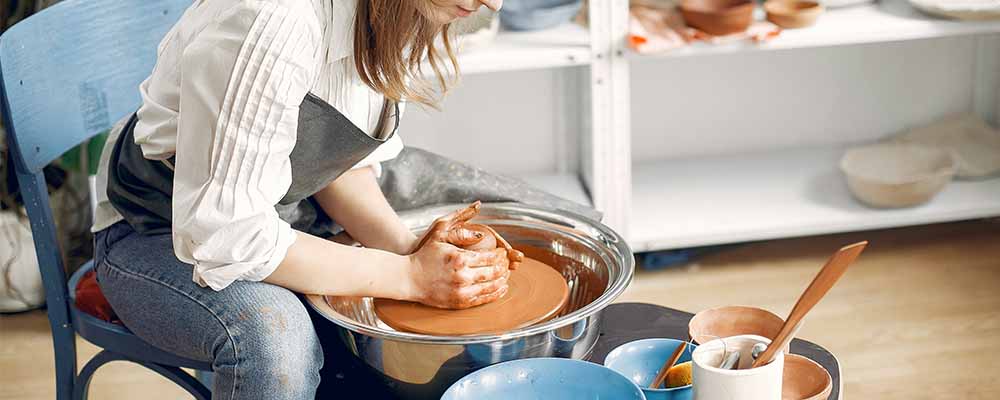
Wheel throwing requires a potter’s wheel.
If you’re pressed for space, hand-building is ideal. This is also perfect for beginners, especially children.
If you can dedicate a corner to making pottery, slip casting and wheel throwing could work just as well. These methods require more equipment and discipline, but can be just as fun!
Choosing the Right Clay

After choosing your technique, the next step is choosing the right clay!
What kinds of clay are there?
The three main categories of clay are stoneware, earthenware, and porcelain.
Stoneware is best for beginners since it’s easy to handle and its texture is good for a variety of uses.
Earthenware is great for rustic pottery, but it can be brittle once dried.
Porcelain is perfect for delicate pottery, especially when wheel throwing. However, it requires more experience and patience.
Should I buy air-dry clay or pottery clay?
There are also two functioning types of clay: air-dry and pottery.
If you don’t have access to a kiln, air-dry clay is best since you just leave it to harden. But it can’t be waterproof, even with sealant, so its use is limited.
If you do have access to a kiln, like the RapidFire Kiln, you can use pottery clay. By glazing it and firing it in the kiln, you can make a durable, waterproof piece that can be used for anything!
Should I buy moist clay or dry clay?
For beginners, we recommend buying moist, “ready-to-wedge” clay.
For more experienced potters, you can learn how to mix dry clay with sand and grog to get a custom texture. This might also be cheaper in the long run, especially if you make pottery regularly!
Once you’ve made up your mind about the technique that you’ll be using, you can move on to find the best clay and tools to practice with.
The tools you buy will depend on the type of clay you plan to use. So, before making any final decision about tools, you must find out what type of clay will suit you best.
General Tips for Making Pottery at Home

No matter what clay or technique you use, there are certain things you need to do when making pottery at home.
Clear Space
You need a clear space for working, plus a few shelves to store your tools and finished products.
Be sure to pick an area that’s easy to clean up, like a tabletop or an uncarpeted floor.
Find Basic Tools
Chances are, you probably already have most of the tools you need for pottery!
Look around your house for the following:
- Apron
- Towels
- Sponge
- Soft large brush for brushing glaze
- Pails for slurry and water
You may also need to buy special tools, including:
- Potter’s needle for trimming and scoring
- Cut-off wire for cutting clay
Alternatively, you may buy a set of tools, like the Genround 45pcs Tool-Set.
Wedge Your Clay
Before using your clay, you must knead, or “wedge”, to get all of the air bubbles out. If your pottery has air bubbles, it won’t be as strong and might explode if you fire it in a kiln.
To wedge, knead the clay on a partially absorbent surface. You can use some plywood or buy a special wedging board, like the Penguin Pottery Wedging Board.
Wedging gives clay a more consistent texture and is an easy way to dry out sticky clay.
Be sure to NEVER mix different kinds of clay if you’re a beginner. If the clays have different shrinkage rates, your pottery may crack as it dries.
Take Note of Cone Sizes
A cone is a measurement of heat that clay and glaze can be fired to.
If you’re using pottery clay and plan to glaze it, be sure that the cone sizes of your clay and glaze are the same.
By matching the cone sizes, you ensure the clay and glaze will expand and contract together. This will maintain the seal, making your pottery safe for food.
Clean Up and Store Properly
After you’re done, it’s important to clean up properly.
Always clean surfaces with a damp wipe. Sweeping clay creates dust with silica in it, which can cause lung damage.
To prevent your pipes from getting clogged, you can install a clay trap like the Gleco Trap System under your sink.
Also be sure to store your clay properly in a cool, damp, covered place! This will prevent it from drying out and creating silica dust.
Hand-building at Home
If you’re a beginner, we recommend hand-building!
What supplies do I need?
You’ll need clay with a good amount of grog or sand.
If you have a kiln, we recommend using AMACO Buff #46 Stoneware Clay.
If you don’t have a kiln, we recommend using AMACO Air Dry Clay.
What are the minimum tool requirements?
The beauty of hand-building is that you only need your hands and a work surface!
How do I hand-build?
There are four main ways of hand-building: pinch pottery, slab pottery, coil pottery, and molds.
With pinch pottery, you use your fingers to pinch clay into a shape. This is great for beginners, especially children.
With slab pottery, you roll out your wedged clay into slabs which you join using the slip and score method.
In the slip and score method, you scratch the attaching surfaces with your potter’s needle. Then you apply a little moist clay to each surface and press them together firmly.
With coil pottery, you roll out coils of clay then shape them together. You can secure each coil to the next using the slip and score method, or by blending the clay together.
With molds, you can drape a slab of clay over a hump mold or into a slump mold that will shape the pottery.
Afterward, let the clay dry.
Slip Casting at Home

If you want to create smoother pottery, we recommend slip casting!
What supplies do I need?
You’ll need liquid clay, aka clay slip.
If you have a kiln, we recommend using Amaco No. 15-S Casting Slip.
If you don’t have a kiln, we recommend allowing pieces of AMACO Air Dry Clay to go bone dry, then soak them in water and mix to a creamy consistency.
What are the minimum tool requirements?
Other than the basic tools, you’ll need to buy plaster molds.
We recommend this Mug Plaster Mold as a starter, or you can make your own if you want something more customized.
How do I slip cast?
All you need to do is pour clay slip into the plaster mold, let it sit for 6-15 minutes, pour it out, then let it dry!
Wheel Throwing at Home
If you’re ready for a challenge, we recommend wheel throwing!
What supplies do I need?
You’ll need clay that’s smooth and easy on the hands.
If you have a kiln, we recommend using AMACO Buff #46 Stoneware Clay.
If you don’t have a kiln, we recommend using AMACO Air Dry Clay.
What are the minimum tool requirements?
Other than the basic tools, you’ll need to buy a potter’s wheel, like the Speedball Artista Potter’s Wheel.
How do I wheel throw?
Take your wedged clay and center it on the metal plate, aka the wheel head.
Wet the clay so you can mold it easily, then turn the wheel on.
Gently shape it into the form you want, then let it dry.
Finishing Touches
After your pottery becomes bone dry, it’s time to add the finishing touches!
How do I finish air-dry clay pieces?
If you used air-dry clay, you can paint on the pottery using acrylic paints like the Caliart Acrylic Paint-Set, then make it more durable by adding sealers like Pinpoxe Pottery Sealer.
How do I finish pottery clay pieces?
If you used pottery clay, you should first paint the pottery in one or more of your desired glazes.
Brushing glaze-like AMACO Potters Choice Glaze is best for home use. Buy one that matches your clay’s cone size, then use a brush to evenly coat your pottery.
After glazing the pottery, you need to fire it in a kiln according to the clay’s instructions.
Conclusion
Pottery can seem like an intimidating hobby, especially for beginners who don’t have an expert to supervise them at home.
But with this guide and a bit of practice, you’ll be wowing everyone with your handmade ceramics in no time!
Good luck, and enjoy your home pottery journey!

