
Do you want to make your own pottery clay but don’t know where to start?
Maybe you think that it’s going to be too difficult for a beginner to pull off?
Or do you think you don’t have enough resources to get started?
Don’t worry! Making your own pottery clay is fun, simple, cheap, and therapeutic.
Did we mention cheap?
You would be pleasantly surprised at how little effort you will need to harvest your own clay.
It’s a lot easier than you think and we’re here to walk you through it.
So let’s get digging!
Why Make Your Own Pottery Clay?
First off, why should you make your own clay? You can easily buy them from your local Walmart or even Etsy.
The main reason here is that it’s fun! You don’t get enough opportunities to play with dirt, and if anyone asked you what you were doing, you can easily tell them that you’re harvesting clay without looking crazy – hopefully.
Another reason is that it’s cheaper. When you buy clay online, you often have to pay for the shipping fees and whatnot. Doing the dirty work (literally) yourself saves you $$$ if you don’t have the extra budget.
Lastly, you can turn it into a bonding activity with your friends and family. Just call up some loved ones and ask them if they want to help you dig up some dirt. There’s a big chance they’ll say yes, especially the kids!
Things You Can Make From Pottery Clay

Pottery is an amazing way to express yourself through art. There are so many things that you can create from this medium. Some examples are:
- Clay coffee mugs
- Clay bowls
- Clay flower vases
- Clay flower pots
- Clay wall art
You can use pottery as a means to save money on home and garden decorations, and even kitchen utensils.
Each item you make will be even more precious to you and to the people you gift them to because each piece has a story.
Plus, it’s fun to flick paint around after you’ve baked the clay. You can go as wild as you want with the designs, or go for a more minimalist style.
Now that you have some ideas on what to make with your clay, let’s talk about how you can harvest it, the materials and tools you will need, and how to find the right type of soil to harvest from.
Materials and Tools You Need to Make Your Clay

You won’t need to break the bank for these materials. In fact, you probably have them lying around in your house. If not, then you can make a short trip to Walmart or Amazon if you’re buying online.
Here are the materials:
- Clay-rich dirt
- Water
Here are the tools:
- 2 buckets
- A test jar
- 1 cloth (something you don’t mind getting ruined)
- Shovels
- Strainers (or a window screen)
- 1 concrete slab (optional)
Now that you know what you will need. Let’s talk about finding and digging up the main star!
Finding and Digging for Pottery Clay

You can’t make pottery clay with the clay part. Luckily for us, Mother Earth is covered in the stuff!
So where can you find it?
You will likely find clay-rich dirt in riverbeds, where the moving water will have washed away any sand and other impurities leaving clay behind.
Creaks are also a great source of clay.
If you don’t have a nearby river or creek, look for areas where the water tends to sit after heavy rain.
This step is only for gathering the CORRECT type of clay. So it’s not quite ready to become a pot just yet!
Get your buckets and shovels ready. Here’s what you should do:
- Test the clay. Take a chunk of dirt into your hand and add some water to it.
- Start squishing
- If the dirt becomes moldable or squishy, then you found what you need
- If the dirt breaks apart even after getting wet, it doesn’t have enough clay in it. Toss it.
Here’s a more in-depth video on how to find the right clay for your future projects:
How to Make Your Own Pottery Clay

There are many different ways people choose to process their clay, and you’re free to use whichever method works well for you. We’re going to talk about one method that is efficient in getting rid of impurities:
Just follow all of the steps below, and you’ll be good to go!
- Fill up one of your buckets with the clay-rich dirt you found. Try to remove as many rocks, branches, and other non-clay materials as you can.
- Add water into your soil. Mix it to break up the dirt until you end up with a mud slurry.
- Let it settle for about 2 minutes.
- Pour the water into the other bucket. Careful not to let the other contents out.
– The sand and rocks should have sunk into the bottom of the bucket. Toss those out and rinse the bucket.
- Get your strainer or window screen. Pour the contents of the second bucket through your strainer, into the first bucket you just cleaned.
You may repeat step 5 as many times as you need. Just make sure to rinse out the bucket you empty.
Now for the actual “harvesting”.
Take your watery clay and leave it inside your bucket overnight. Don’t stir it. Leaving it overnight gives the clay time to settle at the bottom of your bucket.
The next day, pour out the layer of water on top of your clay. Only the water!
Take your clay slushie and pour it into your sheet or any shirt/fabric you don’t plan on using again. Tie up your makeshift sack and hang it up.
Let the water drip through the fabric for two (2) days.
After the two days are up, take your sack and open it. Your clay will still be a little bit watery, but now it can somewhat hold a shape. Don’t remove it from your cloth sack.
Leave the clay inside for at least a day or until enough water has evaporated from the contents to make it more malleable.
By now, your mud slushie will be ready to be used as clay for your pottery.
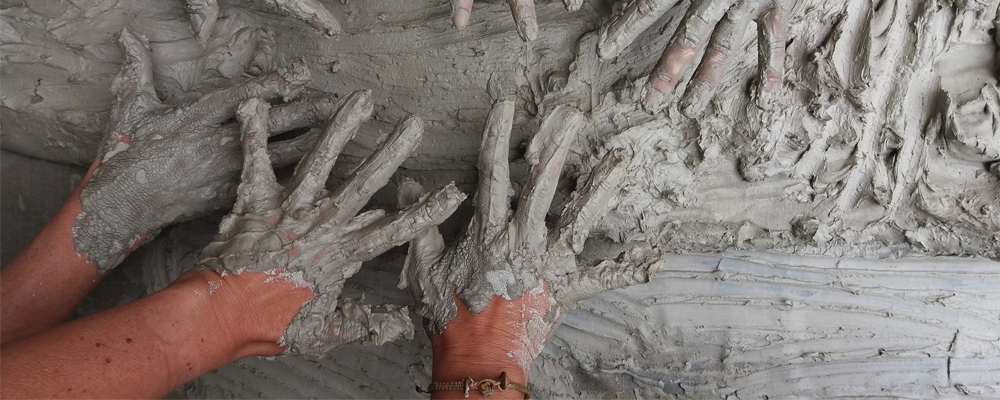
Take your cement slab or any flat surface, gather your clay into a ball, and mash it. Keep kneading until you get rid of any air bubbles inside.
Now you can get to creating!
See, we told you it was going to be easy. It feels like you’re just playing with dirt, and what’s better than that?!
Other Ways You Can Process Your Clay
We did mention that there were other ways you can “clean” your bucket of dirt, and it would be pretty lame of us if we didn’t mention them here.
If the method we talked about doesn’t sit well with you – no pun intended – we’re leaving a link to an instructional video that you can check out:
Conclusion
See? You don’t need fancy equipment or skills to make your own pottery clay. All you need is a bucket and some shovels – and maybe a little bit of patience.
There will be those who will try to discourage you from harvesting your own clay but ignore them or chuck a mud slushie at them. We’re kidding, don’t actually do that last one!
Now that you know what to do with your bucket of dirt, it’s time to get creative! Just visit your local creek, and get to digging.