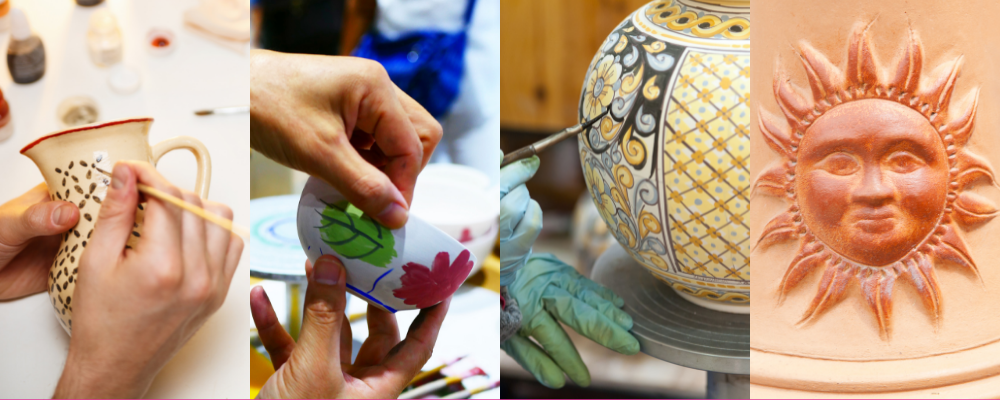
Pottery is an ancient craft and decorating techniques are just as old.
If you are looking for ways to customize your creation, or perhaps you’re aiming to improve your own ceramic decorating skills, then you’ve stumbled into the right article!
Today, we will talk about different ways you can decorate your ceramic masterpiece.
And guess what? It’s not as complicated as you think!
By the end of this article, you will have so much inspiration that you might not be able to help yourself from trying out every single technique we’re about to talk about.
Now, let’s get started!
Types of Ceramic Decoration Techniques
As a newbie, you may not be able to guess how certain design elements found on a ceramic pot were created. But through a little bit of studying, you’ll be able to identify the different techniques almost instantly.
Information overload is a real thing, and we want you to recall as many of these as possible.
So we’ll only be touching on the common ceramic decoration techniques used frequently in this day and age!
Let the speed round begin!
1. Brushwork
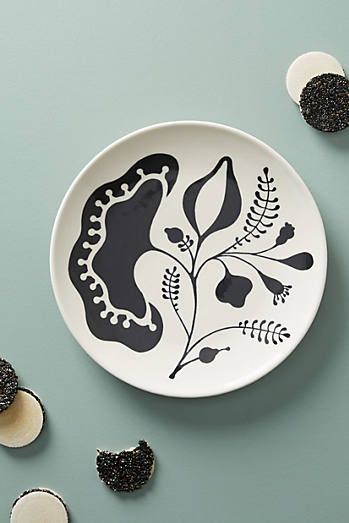
Brushes have been used to decorate and create art for centuries. It’s an artistic tool that has been used by many artists throughout history. So it would make sense that this would be handy in decorating ceramic pots too!
Brushwork is a marriage between craft ceramics and traditional calligraphy. You can achieve this look by dipping your brush into a liquid mixture of clay and water called a slip.
How the finished designs look depend on how broad your brush is or how fine you make the lines look. If done well, brushwork masterpieces can give the piece a sense of movement and life.
You can create breathtaking designs without having to spend a lot of money on the materials. In fact, you can easily find all the brushes and pigments you need at Amazon!
Some products we’d love for you to try out are the Soucolor Acrylic Paint Brush Set and Cailart Acrylic Paint Set!
2. Finger Swiping
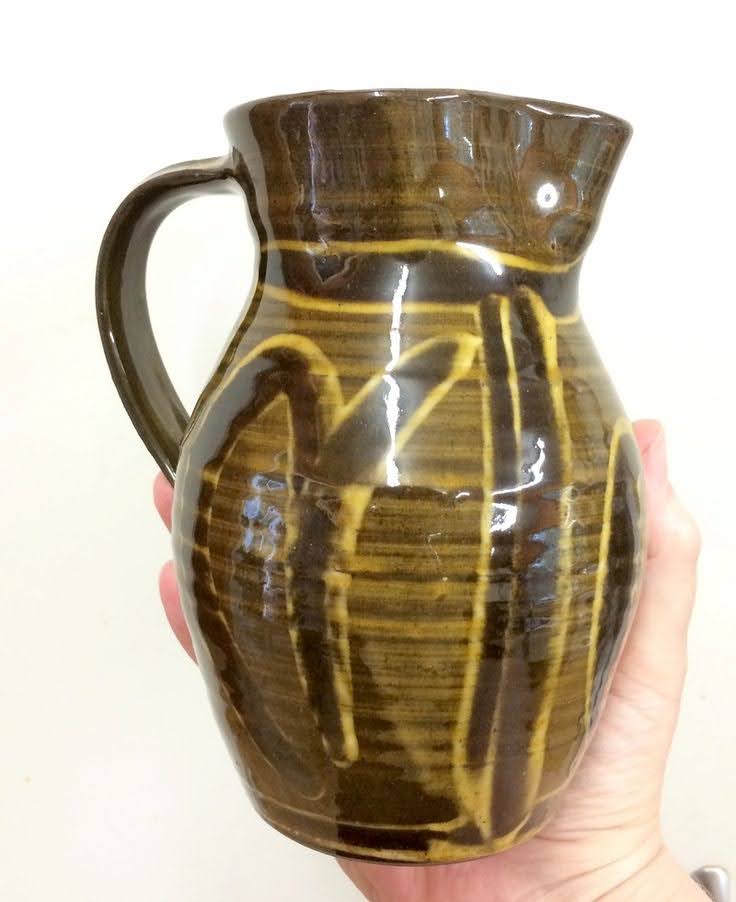
If you love to get your hands dirty, then you’re going to love this technique.
Finger swiping involves using your own hands to drag your pigmented slip to form a design. Aside from dragging, you can also use your fingertips to add in details.
Using your fingers to design your pot creates unique, yet beautiful pieces that sets them apart from other pots created using the same method.
3. Hakeme
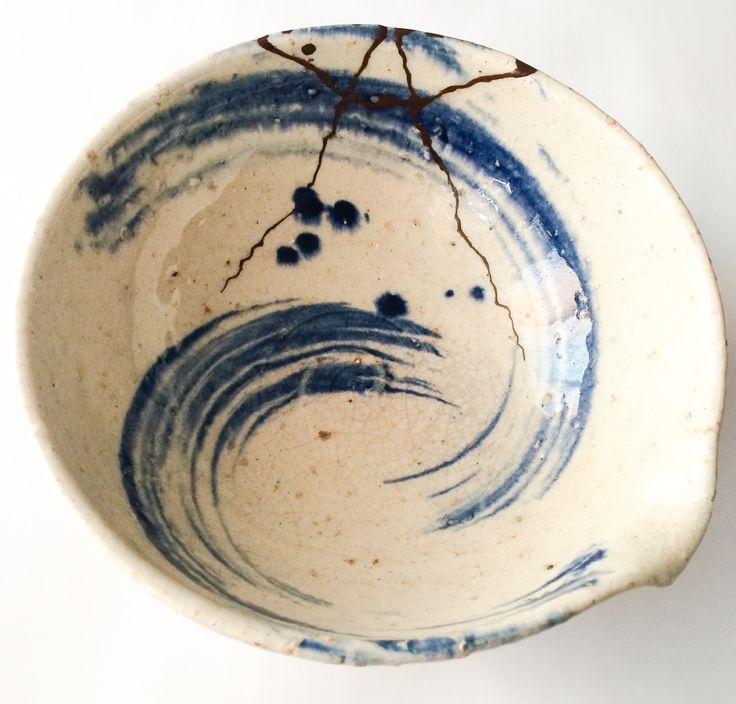
Hakeme is a pottery technique practiced in Japan for centuries. It was first invented by Korean potters who know it as gye yal.
In this method, white slip is applied to the surface of the product using a dry straw brush. To achieve this look, potters allow the gaps created by the straw bristles to show through.
Here is a YouTube tutorial by SIMON LEACH POTTERY TV – Adding white slip (hakeme):
You don’t need any fancy equipment, by the way! You simply need a dry straw brush, and you can find those on Etsy! (or the nearest Asian store in your area!)
Check out this Texture brush by Ying Zhou on Etsy!
For larger projects, you can try out this awesome HYDE 09880 Single Texture Brush on Amazon. Sure, It’s made for cleaning, but that doesn’t mean you can’t use it!
4. Stamping or Embossing
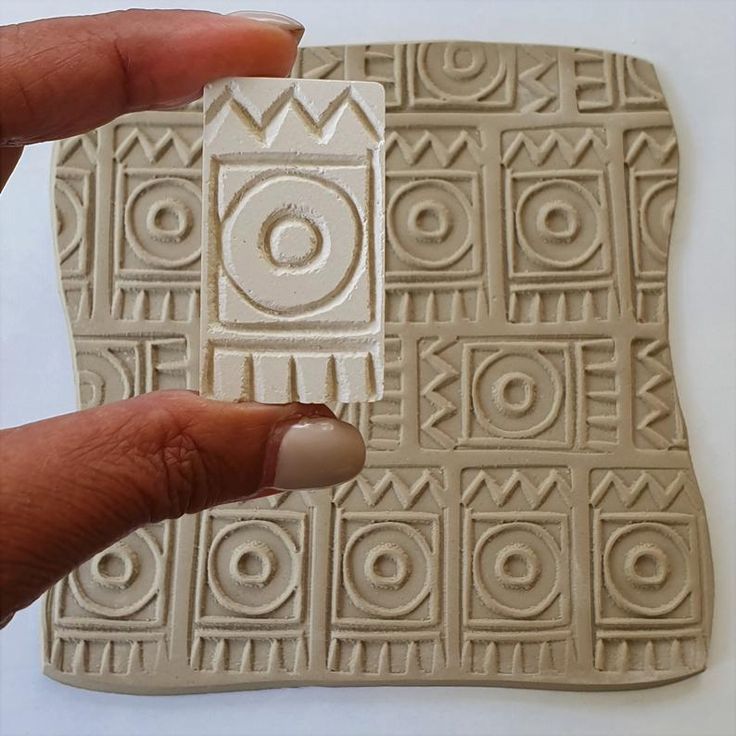
Stamping or embossing a ceramic piece involves pressing down a tool or object to “decorate” the surface of the pot. This step is done once the clay has dried to leather-hard.
Stamping is not only for decorative purposes. Potters use these handy techniques to leave their own “mark” or signatures on their clay creations.
Need a cool stamp set to start off? Check out these adorable TINTON LIFE Wooden Clay Pottery Stamps on Amazon!
You use almost anything to decorate your pot. In this video, the artist created their design by stamping down fresh flowers that they picked outdoors:
It’s not just pots. Stamping or embossing can also be used to decorate gifts or even event decoration as seen on this video:
Stamping materials are quite easy to come by. You can use any knickknack you have lying around in your house, or find more intricate designs on Etsy or the arts and crafts department on Amazon!
Just have a look at these Clay Printing Stamps from Amazon. Absolutely gorgeous!
And this Garden Dill set by Chegotov Alexander on Etsy? To die for!
5. Paddling
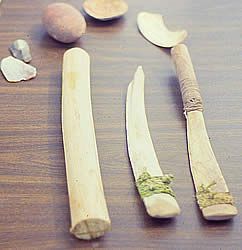
Padding is another method that is similar to stamping. The only difference is that potters only use wooden boards or paddles to decorate clay surfaces.
The pot is held steady by one hand while the other firmly slaps the surface with the board or paddle, leaving markings that serve as the design.
The upsides of this method are that 1.) a paddle can treat larger surfaces and yield more uniform designs as opposed to smaller stamps in Embossing. 2.) The glaze gathers in the gaps created by the embedded paddles, creating dimension once the piece is completed.
6. Combing
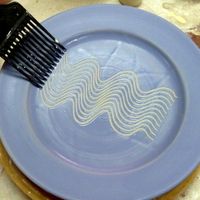
Combing is a technique similar to Hakeme. This involves making parallel lines on the surface of your pot.
You can achieve the look by either dragging your tool through the clay itself or brushing a layer of wet slip on top, then dragging your tool through to reveal the clay surface underneath.
You won’t need any fancy tools here. Anything that can make parallel lines will do. Things like a comb, unused forks, even birds’ feathers work well.
And if you still have that dry straw brush from your Hakeme projects, feel free to use those too!
You can see how this techniques is done here in a video by Gare Inc:
7. Faceting
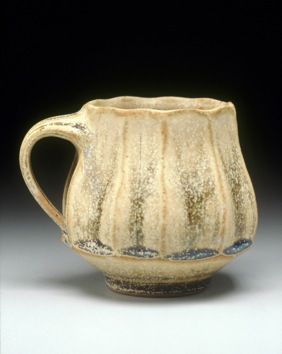
This next technique takes a little bit of practice. It’s known as “faceting”, and it involves slicing or cutting away strips of your pot’s surface with knives, razors, or coiled wire tools. You can source these materials from your local Walmart or order online from Amazon.
Not sure what knives to buy? We’ve got you. Check out these Polymer Clay Cutter Tools on Amazon!
And if these aren’t enough, check out these nifty Stainless Steel Cutters from Walmart!
A potter can start cutting when their clay has dried leather-hard or while it’s still wet on the wheel. Cutting away the outer layers of the pot reveals a more textured surface underneath.
Another form of faceting is called ‘fluting’. This makes use of long, narrow cuts made by a curved blade or wire. It results in a fluted cut that is usually concave.
8. Slip Trailing
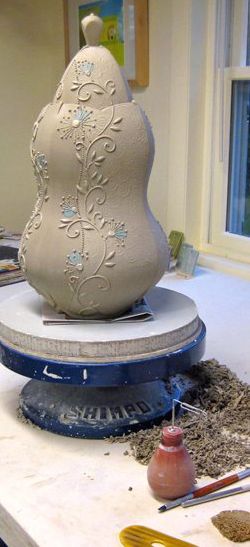
Slip training is a technique where a potter applies slip (with or without colorant) onto a leather-hard clay using a bottle, bulb, or any flexible container that has a pointed tip.
This method adds dimension through the decorative lines or unconventional shapes that the potter draws on the surface.
To achieve this look, you can use a slip trailer or applicator such as the Gaunt Industries HYPO Underglaze & Mixed Media Applicator Set that you can easily find on Amazon.
You can make your designs as intricate or as minimal as you please. Many artists use this technique to add elegant florals to their wares.
Here’s a quick tutorial on how you can set up your materials for slip trailing, as well as, how to draw with slip!
9. Wax Resist
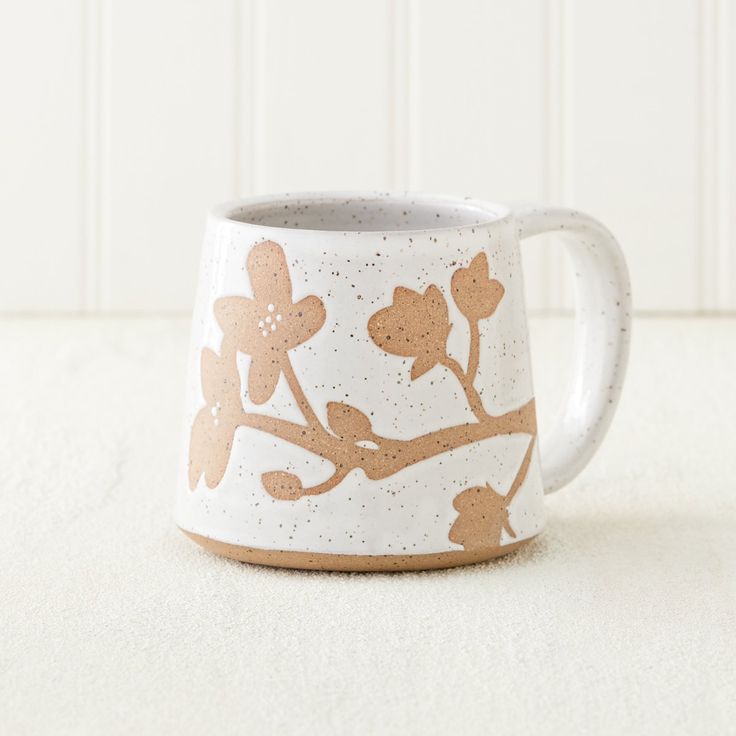
If you want to make detailed designs and crisp edges, then wax resist is a method you may want to try out!
This method relies on wax’s capacity to repel water-based slips and glazes. You start out by coating the bottom and up the sides of your pot one-quarter of an inch using a paintbrush that you don’t plan on using anymore.
Don’t rush. If you wax any less than a quarter of an inch, you’ll risk having your glaze or slip running down your pot and into the kiln shelf.
Make sure to allow your wax layers to dry out completely before adding a new layer (you will need approximately 3 layers). If you paint over a damp layer, you will end up removing the layer you’ve just painted underneath.
Here’s a tutorial on how to better apply your wax layers:
You can also apply wax layers on designs that you don’t want to get covered up by the glaze or slip. Just be sure to apply all the layers properly, and allow them to dry completely before moving to the next step.
It’s not that hard to find wax resist solutions! You can easily purchase your wax resist on Amazon.
For example, these Penguin Pottery – Wax Resist and Ceramic Supply USA – Wax Resist have amazing reviews on good ol’ Amazon!
10. Underglaze Inlay
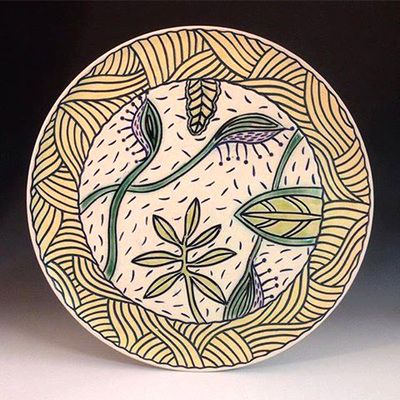
Do you love to carve? Then this method is worth trying out.
Underglaze inlay makes use of carving as a means to add the main design onto the pot’s surface. It is often done using knives and other carving tools that you can simply find on Amazon.
Unsure what carving tools you need? Don’t worry, these EuTengHao Ceramic Clay Carving Tools will be a great starter kit!
Once the pot or clay article is leather-hard, you apply a layer of white slip, then carve out your design.
Now it’s time for the magic to happen. After you bisque fire, apply the underglaze. You don’t have to worry about precision here.
After you’ve added the underglaze, you can proceed to wipe off the excess using a damp sponge. This step-by-step article will show you how to do it.
Once done, you can now glaze and fire your work.
You can also watch this video on how you can create your masterpiece using this technique:
Conclusion
Does it matter which technique you start with?
No, not really. This all boils down to which ones piqued your interest the most. You don’t have to be a master potter or a modern-day Van Gogh to pull off these design techniques.
All you need is a little patience, some tools, and some creative inspiration.
We can’t wait to see what you’ve come up with. Best of luck!

