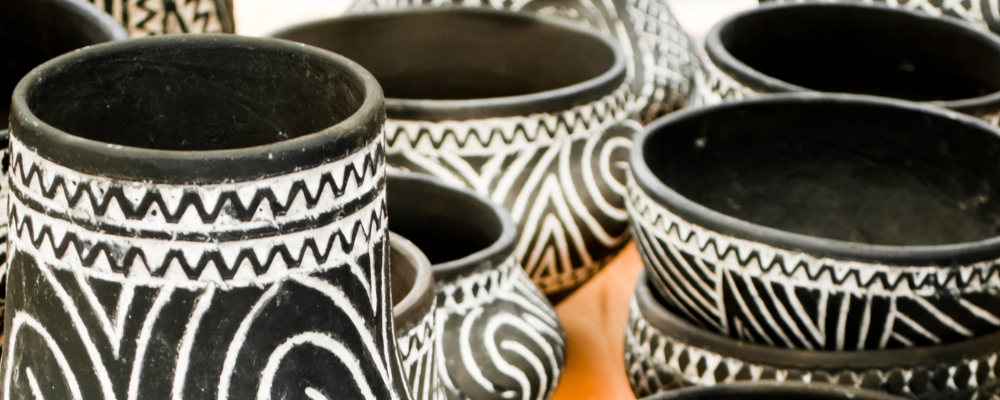
Have you ever been so intrigued by a vase? Boasting such intricate detailing etched into its body. You had to stop and marvel at all the colors and patterns. Sgraffito is how you carve those beautiful designs onto different pottery pieces. Below we will go through the aspects that go into Sgraffito Pottery.
What is Sgraffito
Sgraffito is a technique used in different forms of art. It is the act of scraping off the top layer to expose the underlying layer to create patterns on your surfaces. Sgraffito comes from the Italian term “graffiato,” meaning scratched.
This method has withstood the test of time, with artifacts dating back to the 10th century. This artform is at least a thousand years old.
Sgraffito Pottery can be intimidating when you only see the final product. It helps to know the process that goes into creating these works of art. It might surprise you how simple they can be to make.
The art of Sgraffito Pottery involves creating appropriate surfaces as your blank canvas. There are also proper tools you can use to sketch your design into your pottery.
The techniques you use in Sgraffito Pottery help you create beautiful pieces. The steps involved in this art form, while systematic, are simple. Simple enough to build your skills around.
How to make Sgraffito Pottery
1. Create Your Canvas
There are three variants of clay surface treatments best suited for Sgraffito Pottery. But, the consensus among all is that smoother surfaces work better than textured ones. Let’s go over the different variables used in these techniques.
- Slip
Slip is terracotta or earthenware mixed with water creating liquified clay. You simply brush this onto the surface of your piece. And drying it until it is leather-dry makes the top layer a fine drawing medium.
Clay slip contains more clay particles than other materials. Thus, providing more texture to your carvings. You can either brush it on or dip your pieces into it. You can find stained clay slips for the color that is right for your pottery piece.
- Underglaze
Scratching through layers of different colored glaze gives your design more depth. Underglaze consists of building many layers underneath the surface. This technique works best when you add at least 5 to 7 layers of glaze on top of one another.
You can work with as little as two colors or as many as your imagination will allow. Drying it an appropriate amount of time will help you carve through the surface better. You will be preventing the glaze from flaking off or the layers meshing together.
- Engobes
Engobe, while like clay slips, contains fewer clay particles and has more flux or silica. As a result, it produces a much thinner consistency. Engobe can be airbrushed or sprayed onto the surface. This method helps create gradient colors for your underglaze.
Engobe is often used to add different colors to one layer. Delicately spray different colors onto the surface of your piece. You can now have different colors as your surface layer. Now scrape your designs through those colors to expose your base color. This method makes the details on your piece look more intricate.
2. Use The Right Tools
You can opt to use anything sharp that is available to you, of course. Anything that can help engrave your designs onto the surface. But, there are proper tools you can use for Sgraffito.
The right kind of tools provides precision and efficiency. These tools make the art of Sgraffito much easier for newbies and veterans alike. They design these instruments explicitly for scraping through materials like clay with ease. Here are the three main types of tools used in Sgraffito Pottery.

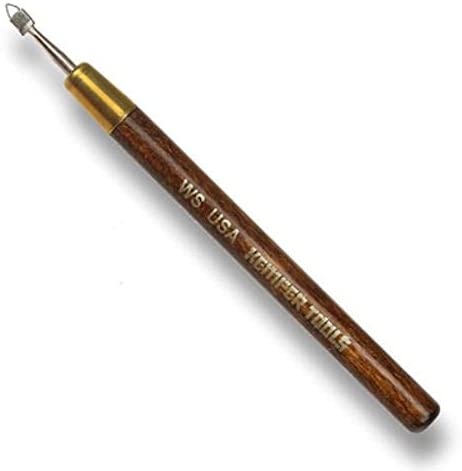
The wire stylus offers a smaller tip than other tools, with a loop made of thin wire. That is best to use in more delicate designs. Designs that are smaller in size but call for heavy detailing.

Mini Ribbon Sculpting tools work best with water-based clay. It is made with tempered steel. That is thin enough to incise fine lines onto your surface. These often come in sets of 3-5, with their tips varying in angles.

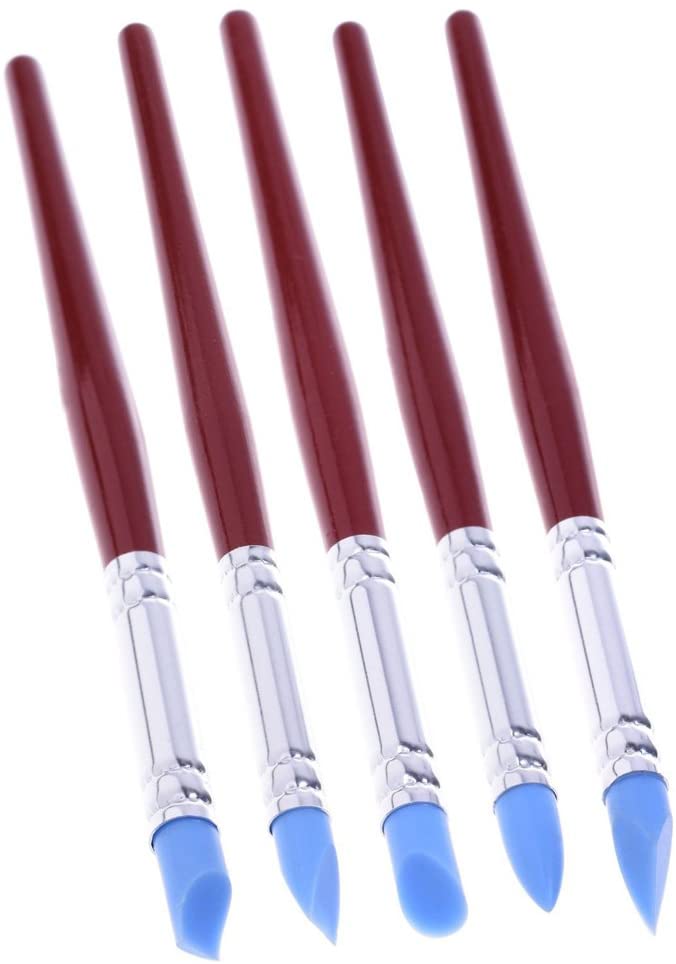
You can use this tool for cleaning up the debris that etching leaves behind. Don’t brush particles away with your hand. The improper way of cleaning out your carvings can compromise your designs. You can also use soft brushes, but using a rubber shaper makes your incisions look more pristine.
3. Seal The Deal
After you create your designs and brush away any excess material, you can leave it up to dry. These are the final steps you will need to go through to produce your Sgraffito Pottery piece.
- First Firing
Once your piece is bone-dry, you can load that up to the kiln. This step binds your designs to your pottery. You are also preventing any excess moisture from mixing into your final glaze.
- Final Glaze
The final glaze you will be applying is a clear one. The transparent glaze gives your piece a glossier finish. The functional purpose of this step is to seal in all the layers and make it water-proof.
- Fire Away
After applying the final layer of glaze onto your piece, you can place it into your kiln for the last and final time. How long you will have to set them into the fire depends on the saturation of glaze or the size of your piece.
Get Started on Your Sgraffito
Now that you are familiar with this art form, you can start creating unique pieces of your own. You can start with smaller pieces like mugs, small plates, and tiles. You can move on to larger pieces once you get the hang of things. Even vases that will leave others marveling at your creation.
Whatever piece you decide on designing, remember to use these steps to guide you in the process. While always giving yourself enough room for your creativity to flow freely.
You can also watch step-by-step videos online. You can also look for other visual aids. There is a multitude of online tutorials available to anyone for free. Anything that helps you understand the process that goes into Sgraffito Pottery better.

