
If you’re new to pottery, one of the most exciting prospects is getting your hands on a potter’s wheel.
While wheel throwing is something to look forward to, it can also be confusing for many beginners.
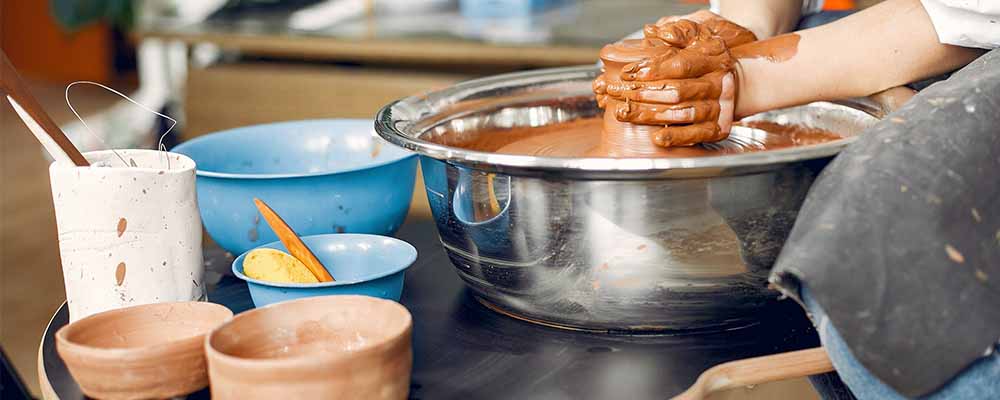
Wheel throwing is the art of shaping clay on a pottery wheel.
The basic steps to wheel throwing involve handling clay, including preparation, centering, opening, collaring, and adding final touches.
Before we can get into a step-by-step guide to wheel throwing, gain an appreciation of what wheel throwing is and what it takes to get started so you can start shaping up your pottery skills.
How was wheel throwing invented?
Pottery can be traced back to 29,000 BC, serving utilitarian purposes for gathering supplies, cooking, eating, and drinking.
About 1,300 BC, the pottery wheel was invented as an efficient way to produce containers for the growing needs of society.
Throughout this article, you’ll find that advancements in pottery have made it even easier to produce functional and beautiful pieces.
What is a pottery wheel?
Pottery wheels are designed to create uniformly round ceramic wares, such as cups, plates, pots, mugs, and more.
Shaping clay in a pottery wheel is known as “throwing.”
How hard is wheel throwing?
A skilled potter can make the whole process look simple, but you should know that wheel throwing is a skill perfected through practice.
While learning wheel throwing can be challenging, it can be a rewarding experience once you’re able to get the basics down.
How long does it take to learn wheel throwing?
There’s a saying among potters that the first 10,000 bowls you throw are only getting you started with wheel throwing.
While most wheel throwing classes run for four weeks up to an intensive 12-week of training, it may take you years to master the art of wheel throwing.
Don’t let this discourage you, though; there are many ways to ease the learning curve.
Keep reading to find out!
The Basic Tools and Equipment: Wheel Throwing for Beginners
While mastering the art of wheel throwing can last a lifetime, choosing the right equipment can make learning easy and fun!
In this section, let’s learn about the basic tools and equipment you’ll come across when throwing, including the kiln, pottery wheel, and more.
Choosing the right clay for beginners
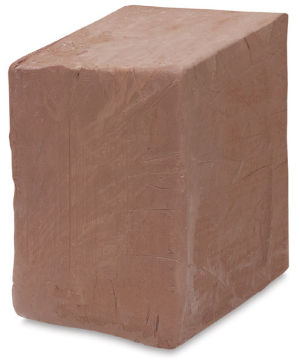
Before getting into equipment and tools, we should discuss the most important factor that can help make wheel throwing easy: clay.
Different types of clay are classified as earthenware, stoneware, or porcelain. Because their elements and components vary, each type of clay will have different properties, firing temperatures, and handling techniques.
Stoneware clay is considered to be the best pottery clay to start with since it’s incredibly versatile. You can practice wheel throwing, hand sculpting, and hand building with stoneware clay. It holds its shape well but is still plastic enough. When grog is added, stoneware clay becomes even stronger.
However, others would argue that earthenware is easier to work with. Earthenware is also plastic and workable, especially if grog is added. However, it’s porous, and it also tends to crack when heating.
Choosing a pottery wheel for beginners
Assuming that you’re interested in wheel throwing, I’m guessing that you’re most curious about the pottery wheel.
There are two main types of pottery wheels: electric wheels and kick wheels:
Types of Pottery Wheels
Kick wheels
Controlled by a manual foot pedal or a heavy disk, kick wheels require incredible coordination between your hands, leg, and brain!
Kick wheels are tough to transport. On the plus side, the careful maintenance of your kick wheel can make it last decades.
Electric Pottery Wheels
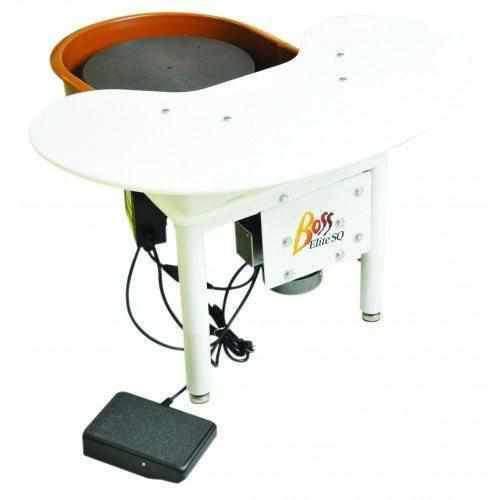
Most pottery beginners will start to throw on electric pottery wheels. Electric wheels are much easier to control. You only need to step on a foot pedal to control the wheel head.
Centering is also easy on electric pottery wheels.
An important feature to look for in an electric pottery wheel is easy and responsive speed control.
You may also want to look into reversible wheel direction since standard wheels will spin counter-clockwise.
What’s more, many new electric pottery wheels are portable and lightweight, a far cry from the kick wheels of old.
In most cases, a mini electric pottery wheel is enough for most beginners.
Best Pottery Wheel for All Skill Levels
If you’re serious about taking your throwing skills to the next level, consider getting a pottery wheel that’s powerful, durable, and versatile, like this ¾ HP Pottery Wheel by US Art Supply. It’s got an 11-inch wheel head that can hold up to 25 pounds of clay, an exciting possibility for future projects!
This pottery wheel is a convenient companion for potters of all levels, thanks to its innovative LCD with an adjustable speed control knob and attachable foot pedal.
It also has a reversible spin direction for right and left-handed use.
Getting to know pottery kilns
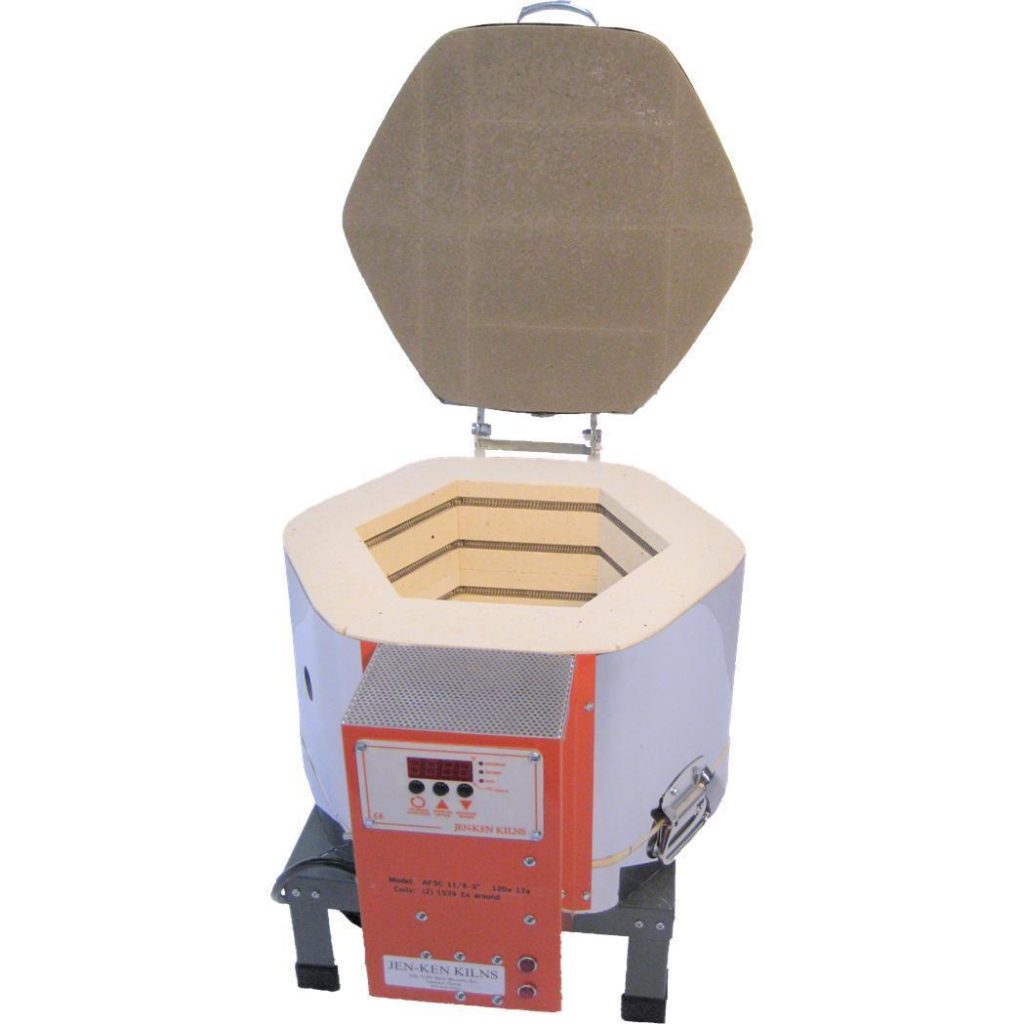
Investing in a quality kiln is another thing to look into if you’ll be pursuing wheel throwing at home.
There are lots of small and portable pottery kilns available online. They’re great because you can plug them into your main socket. With larger kilns, you’ll have to call an electrician to wire them in.
The most important aspect to look into in kilns is the quality of elements.
Kilns wear after every firing, degrading the elements, which will eventually need replacing. If you’re buying secondhand, make sure to check if there are any cracks in the lid or base. Other elements hanging out are red flags too.
Beginner pottery tools you’ll need
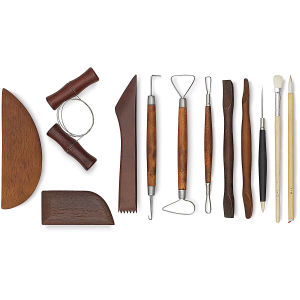
While it can be tempting to fill your studio with all the pottery tools you find online, the main tools you’ll be using for wheel throwing are your hands!
The hands are very versatile in producing natural curves on pottery. While mastering how you use your hands at wheel throwing is a different story, now’s the perfect time to introduce you to some of the most helpful pottery tools you’ll need:
- Cut-off wires are made of nylon or metal, an important tool for wheel throwing.
- Sponges are used to wet and the clay, making it easier to shape
- Wooden ribs are great for smoothing the base of shallow bowls and plates
- Thin pin tools for cutting the top from warped pots or popping air bubbles
- Bevels make it easy to cut the pot from the wheel
- Throwing sticks are great for cleaning pots and making an undercut bevel
- Trimming tools are essential for refining shapes of clay once they’ve dried
Glazing choices for beginners
Other types of clay, such as stoneware clay, can be made without being glazed. However, other more porous clays will need to be glazed.
Pottery glaze can either be a matte or gloss finish. There are many choices of glazes varying in opacity, color, and firing temperature.
An easy way to make clay is to buy a ready-made glaze powder. To get you started, you can combine equal parts of water and powder when dipping your ceramics. Use a fine sieve to remove any large particles in the mixed glaze. Sieves are critical to achieving a fine glaze.
Make sure to wear a respirator mask when handling powder materials.
Step-by-Step Guide: How do you throw on a wheel for beginners?
Here are the basic steps to wheel throwing:
Step 1: Prepare the Clay
The first step to wheel throwing is to wedge or prepare the clay for optimal use on the pottery wheel.
Wedging is similar to kneading dough. It helps clay to:
- Be more pliable
- Have uniform consistency
- Remove air bubbles
Here’s how to wedge clay for beginners.
- Mist your work surface to having your clay stick on the table.
- Work your clay into a ball.
- Throw your clay onto the surface and work it into a square. This removes air bubbles in the clay.
- Use both hands to pull and push the clay.
- Pat in your clay to avoid air bubbles.
- Use a wire tool to check for air bubbles.
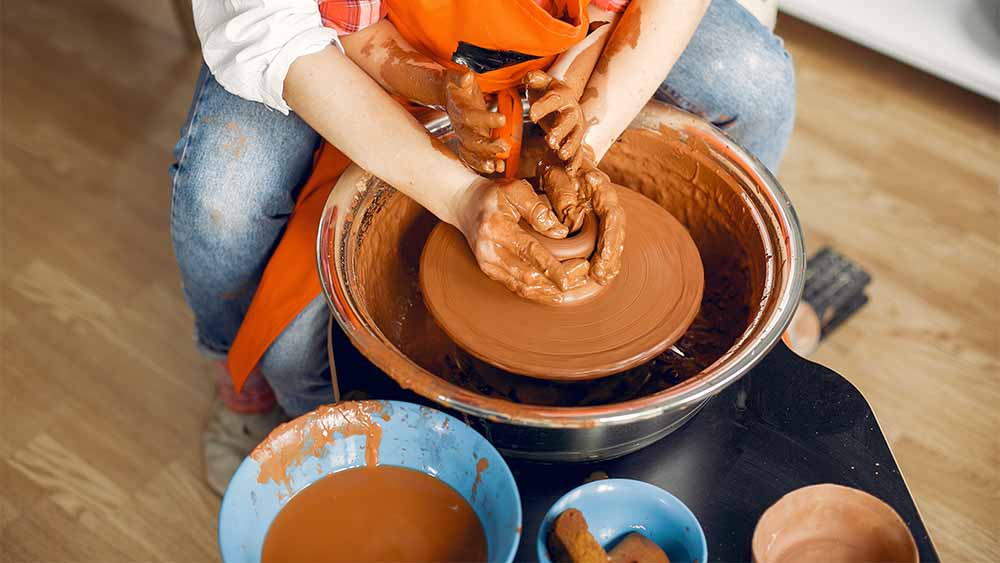
Step 2: Centering the Clay
Centering is the most important part of wheel throwing. With enough practice, you can perfect the most challenging step of wheel throwing:
- After wedging your clay, pat it into a ball.
- Slap the clay firmly onto the wheel head.
- The underside of the clay should be perfectly convex to prevent air bubbles. Some potters will run a finger along the edge of the lump of clay and the wheel head to create a seal.
- Begin centering by positioning the clay roughly in the center of the wheel head.
- Keep your back and shoulders rigid with your elbows tucked in.
- Position your left hand with the fingers pointing away from the clay, and the thumb down to contain the top of the clay ball.
- Spin the wheel and apply pressure with your left arm.
- Position your right hand over the clay to control the top. Apply pressure with the right while releasing the left hand to make the clay go down.
- This up and down motion will ease the clay into the center.
Centering the clay involves shaping and moving the clay so it’s precisely in the center of the pottery wheel. This ensures that your work will remain smooth and even so that you finish with uniformly round pots.
Potters will use different techniques to center the clay, such as coning.
Check out this video for some common beginner centering mistakes.
Step 3: Opening the Clay
Opening clay means dipping a hole in the middle of a centered clay using your fingers.
Potters have different techniques for opening clay, but most will use their thumbs.
Push down on the clay until you get a ⅓-inch thick hole.
Step 4: Pulling the Clay
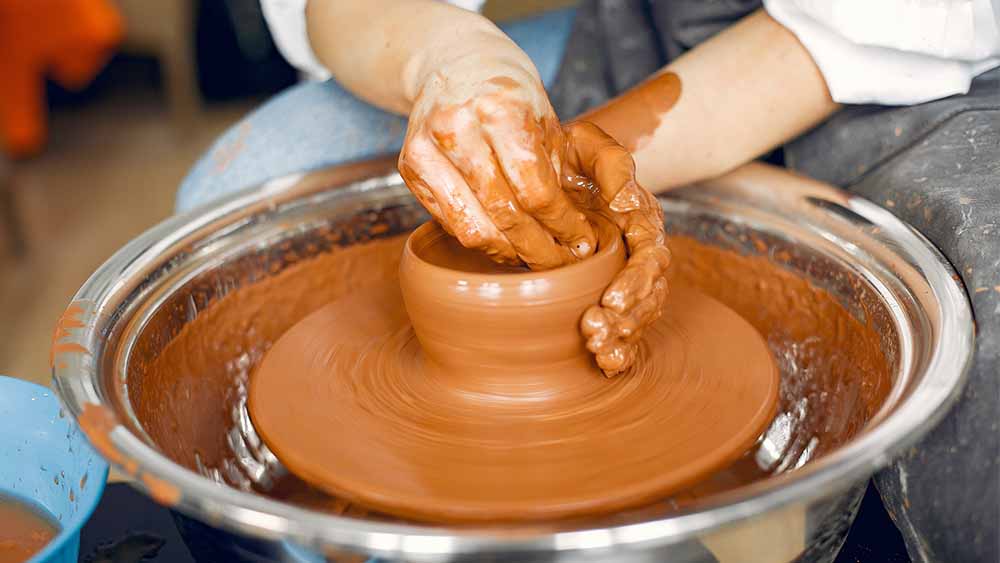
Once you’ve opened up the clay, there will still be lots of clay at the base.
“Pulling” clay will move the excess clay up, forming taller walls.
Different potters have different techniques: some use their knuckles, others their fingers or even a wet sponge.
The number of pulls needed will depend on height, thickness, and the type of vessel you want to make.
Wheel Throwing FAQs
What is the first thing you need to do before throwing on the wheel?
Before getting into wheel throwing, most beginners will practice hand-building to get a feel for handling clay.
Earthenware clay is a good place to start as it’s very malleable and easy to shape. Others would argue that stoneware clay is the best since it’s plastic but still holds its shape.
Once you’ve got a feel of different clays, test out a pottery wheel!
The first step to wheel throwing is to get a small piece of clay and form it into a ball. It’s easy for most beginners to start with 2-3 pounds of clay on the wheel.
What is the most important part of throwing on the wheel?
Centering the clay is the first step to forming a perfectly symmetrical and round bowl, pot, case, etc. You need to place the lump of clay exactly in the center of the wheel to form a uniform piece.
Centering is the most important part of wheel throwing, and it’s also the most difficult to master. Failing to center your clay properly will result in an uneven and wobbly pot.
Conclusion – How do you learn to throw a wheel?
As a beginner to wheel throwing, you must choose the right method, equipment, and materials that’ll make learning easy, fun, and intuitive.
While self-teaching is possible, signing up for a pottery class can give you a great headstart.
Receiving hands-on training from an expert who gives words of encouragement as they show you the right way to wedge, center, open, pull, and glaze clay can do wonders for your progress.
Reading and learning from beginner guides like this article is a great way to start!